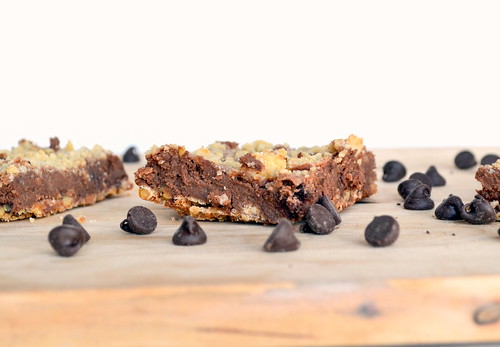
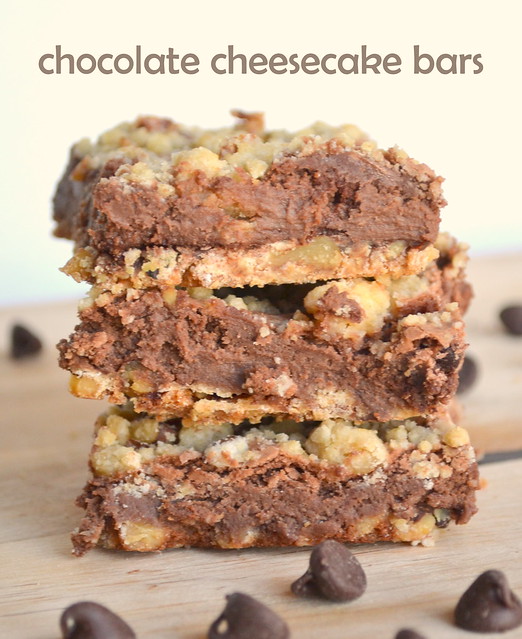
Holy. Cow. These chocolate cheesecake bars are incredible.
My go-to dessert lately has been cookies. I’ve made SO MANY cookies lately that I quit taking pictures of them to post on here because I didn’t want to bore you all.
As I was visiting my parents this weekend, I looked in their cabinets to see what they had. I like to play a little “game” where I pick an ingredient, then Google “{Insert ingredient here} dessert recipes.” So, after I spotted some evaporated milk in the cabinet, I Googled “Evaporated Milk desserts,” ignored all of the fudge recipes, and stumbled upon these delicious little bars.
I am all about pumpkin pie on Thanksgiving, but I would totally forego the pie for these bars. That’s how good they are. They’re very decadent and you’ll probably need some milk to go with them. 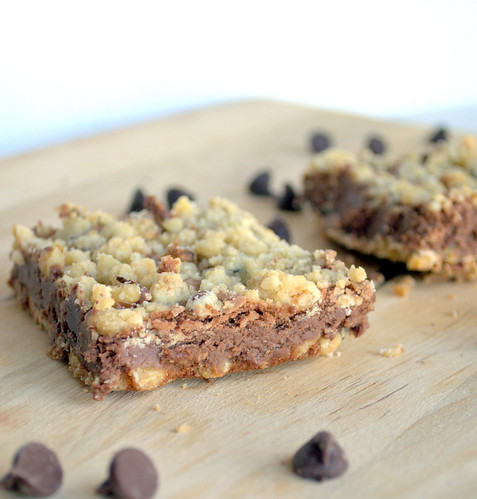
Chocolate Cheesecake Bars
Recipe from: Very Best Baking
Ingredients:
- 1/2 cup finely chopped nuts
- 3/4 cup all purpose flour
- 1/4 cup packed brown sugar
- 1/4 cup butter or margarine, (1/2 a stick) melted
- 1 package (8 oz.) cream cheese, softened
- 1/4 cup granulated sugar
- 1/2 tablespoon vanilla extract
- 1 large egg
- 1/3 cup evaporated milk
- 1 1/2 cups chocolate chips
Instructions:
- Preheat oven to 350° F. Lightly grease 8×8 inch baking pan.
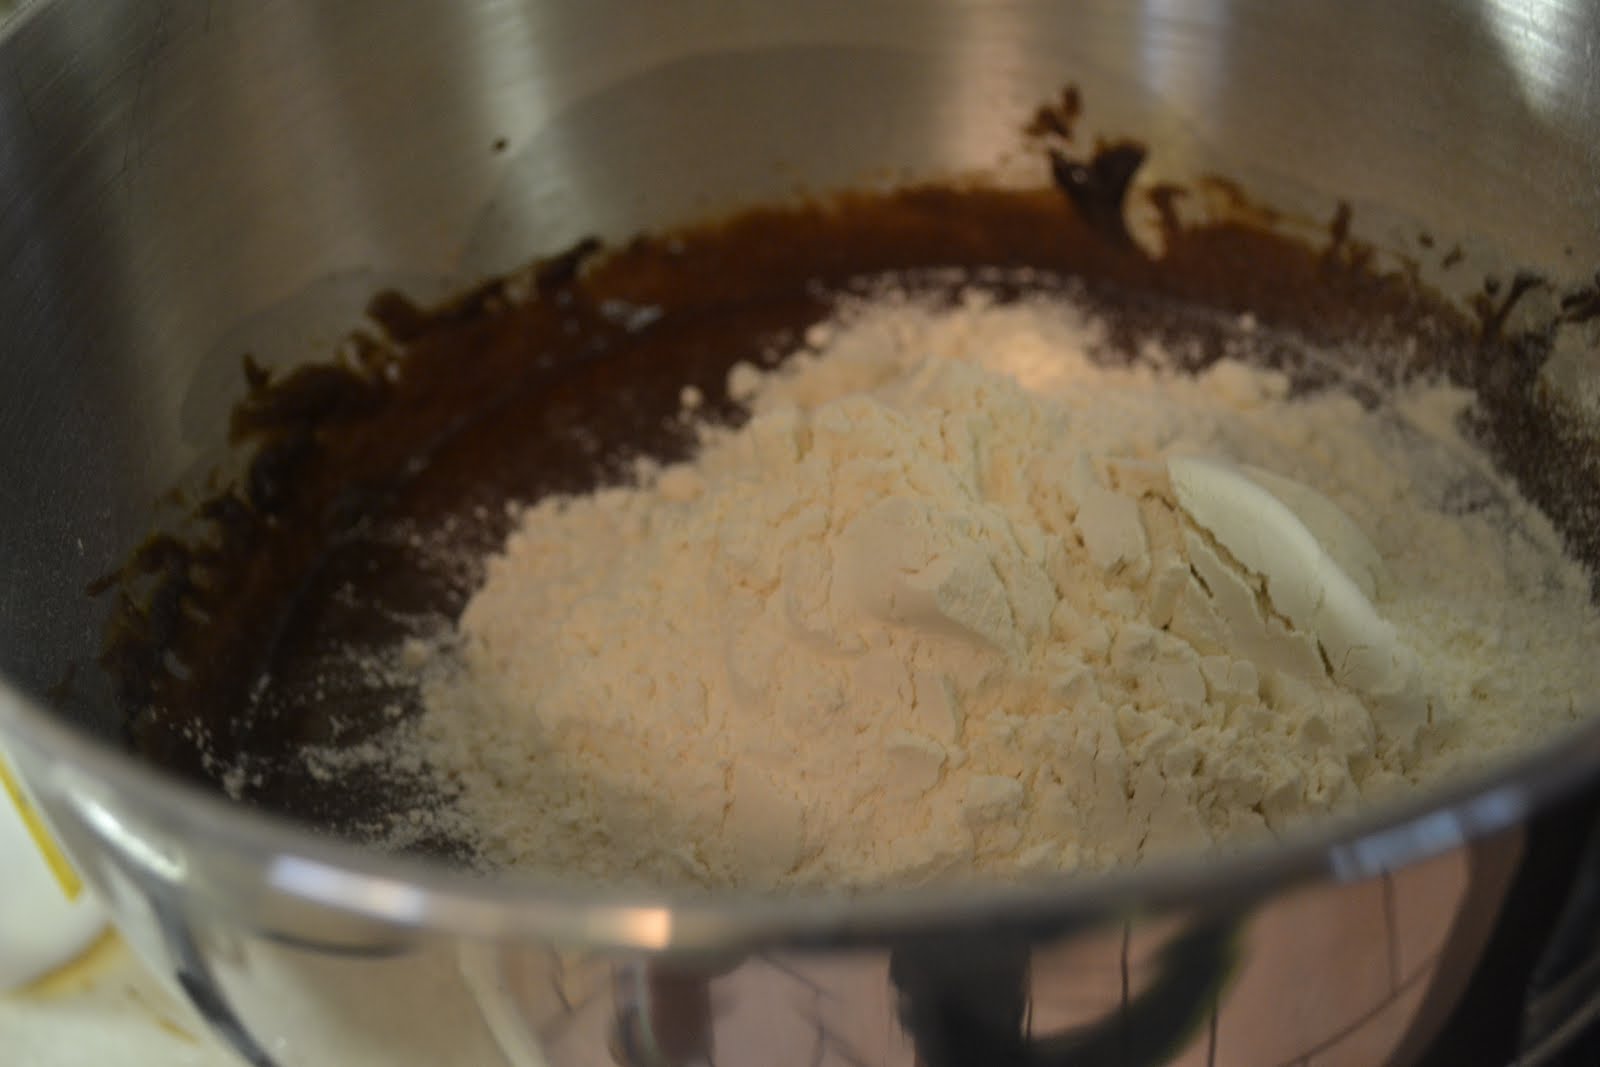
- Combine flour, nuts, brown sugar and butter in medium bowl; reserve 1/2 cup mixture for topping. Press remaining mixture onto bottom of prepared baking pan.
- Bake for 10 to 12 minutes or just until light golden brown.
- Make the filling: beat cream cheese, sugar and vanilla extract in small mixer bowl until smooth. Beat in eggs. Gradually beat in evaporated milk.
- Microwave 1 cup of the chocolate chips in medium, uncovered, microwave-safe bowl for 1 minute; stir. If necessary, microwave at additional 10 to 15-second intervals, stirring just until chocolate chips are melted. Beat into cream cheese mixture. Gently stir in the remaining 1/2 cup of the chocolate chips.
- Pour over hot crust. Sprinkle with reserved topping mixture.
- Bake for 25 to 35 minutes or until center is set. Cool in pan to room temperature. Refrigerate for about 1 hour, then serve.