
I’m feeling a little blah right now. Ever since Kellen and I got back from New York, my mind has been elsewhere. I’ve had no motivation to exercise, do homework, or work. I’m just super ready for summer to roll around. This cold weather at the start of “spring” isn’t helping either!
When I start feeling like this, I do a few things to get myself out of the “rut”.
1. Find inspiration elsewhere (E.g. Flickr, PostSecret, StumbleUpon):


2. Make a list of things I’m looking forward to.
My list right now consists of:
1) The weekend/sleeping in/spending it with Kellen.
2) Working a Taste of Home cooking show!
3) Enrolling at Park.
4) Summer
5) A high of 78 on Saturday.
They may just be little things, but that’s all it takes.
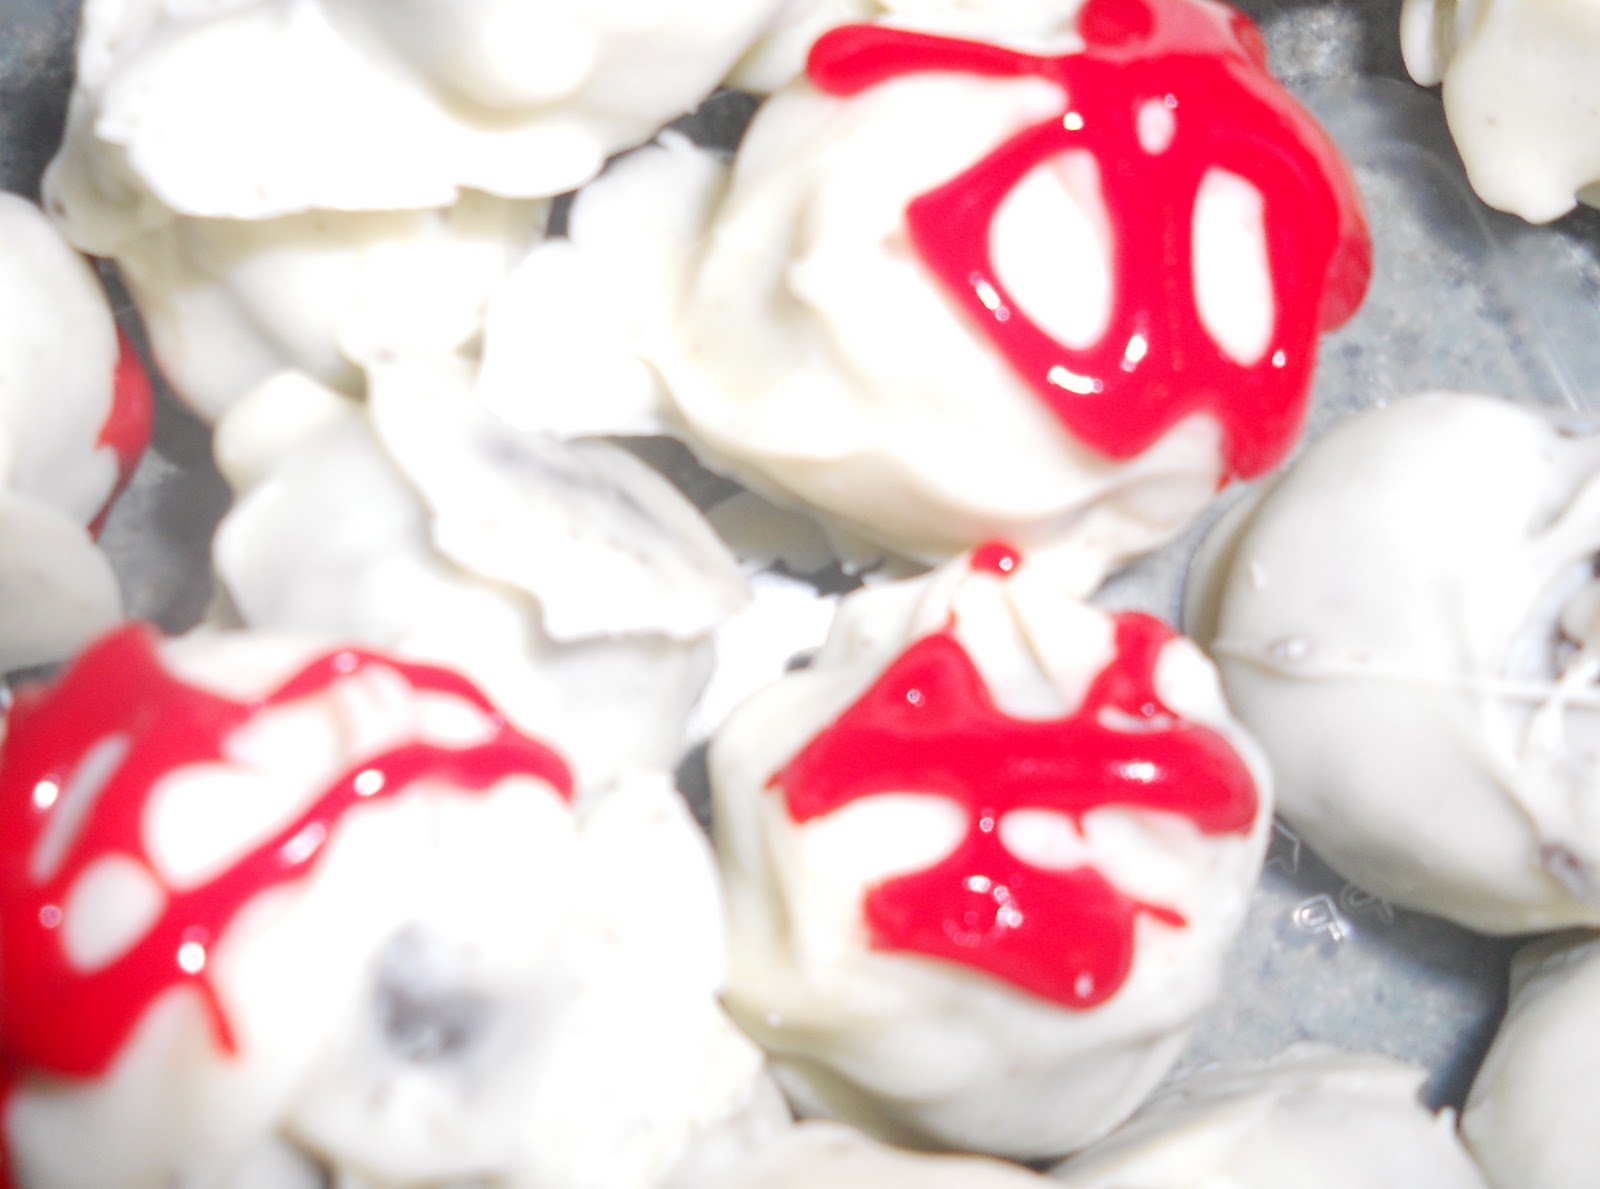
3. Indulge in hobbies. Today, I baked these cookies just so I could photograph them. Now I’m writing. I like to keep a journal other than this blog, too. I think writing is a good way to keep things from bottling up.
4. Listen to music. Right now my favorite is “Rolling in the Deep” by Adele… and the John Legend remake, too.
5. Pray!
What do you do when you’re in a rut??
Anyway, I figured I’d give you all a break from the 3 cups of sugar, 3 sticks of butter, and who knows how much chocolate from the last post. I’ve had a lot of people asking me for “healthy” and “low calorie” recipes lately…. so here you guys go! They’re pretty tasty if you ask me. The ingredient list is a little random…


Date and Pecan Drops
1 cup cream of wheat
1/8 cup whole wheat pastry flour
1/4 cup applesauce
1 tablespoon oil
1/2 teaspoon vanilla
1/4 cup chopped and toasted pecans
1/4 cup coconut flakes (I used unsweetened)
Topping:
1/2 cup Splenda
1 tablespoon honey or agave
*Sprinkles, optional
1. Preheat oven to 350 degrees.
2. Mix all ingredients.
3. Drop by 1/8 cup balls onto a lined baking sheet.
4. Bake for 8-10 minutes.
5. While cookies are in the oven, mix together topping. Once you take the cookies out, sprinkle the topping over cookies. *Don’t turn oven off!
6. Put cookies back in for another 2 minutes or so, while the topping caramelizes a little.
7. Let cool, devour. 🙂


