Category Archives: Sprinkles

Cake Batter Puppy Chow

7-30-12 110

I’m sure, if you have Pinterest, that you’ve seen this recipe all over.  That’s how I found it, at least.

I got addicted to Pinterest last year in one of my classes.  It was a lecture class and we sat in front of computers for 1 1/2 hours… what was I supposed to do?  My professor clearly wanted me to be on Pinterest.  Besides, I think it made me pay attention more because I knew I had to listen even more carefully if I was going to be “off task” by being on Pinterest.

So, lesson learned, multi-tasking makes you more attentive.  (Riiighhht…)

Anyway, I’ve found a lot of great recipes on Pinterest and this is one of my favorites.  However, if you have an addictive personality, I don’t suggest you make this because it is so addicting.  Just walk away.  Give it as gifts… that’s what I had to do.

7-30-12 087

7-30-12 128

7-30-12 119

7-30-12 115

7-30-12 109

7-30-12 101

Cake Batter Puppy Chow
From: So Very Blessed 

Ingredients:

  • 5 cups Chex cereal (I prefer the Rice Chex)
  • 10 oz (5 squares) vanilla flavored Almond Bark
  • 1 1/2 cups yellow cake mix
  • 1/2 cup powdered sugar
  • vegetable shortening, optional
  • Sprinkles!
Directions:
  1. Melt almond bark according to the package directions, adding vegetable shortening to thin if desired.
  2. Pour the cereal, cake mix, and powdered sugar into a paper bag or container with a lid.
  3. Drizzle melted Almond Bark over the cereal and fold down the top of the paper bag or put the lid on the container.
  4. Shake bag or container until the cereal is evenly coated.
  5. Add in sprinkles if desired.

7-30-12 089

Yellow Cupcakes with Cream Cheese Frosting

Hello, guys!

I hope you all had a wonderful 4th of July!  Mine was spent with Kellen, friends, food, and fireworks!  Can’t get much better than that. 🙂

Okay, so I of course wanted to make a festive dessert, and I did, but I just couldn’t decide what I wanted to make.

I ended up deciding on cupcakes and I was completely pumped about it and ready.  The recipe looked great and the whole time I was thinking “this had better be the best cupcake I’ve ever made” because they’re pretty labor intensive.

Nope.  I overbaked the first batch and the frosting wasn’t so great (If you make these, I recommend turning the temperature down to 350).  But hey, they were still red white and blue!

Anyway, I’m still on the hunt for the best cupcake recipe ever.  What is yours?? And what did you all do for the 4th?
Also, I always mess up cream cheese frosting!  It gets all elastic.  What can I do to fix that?


Yellow Cupcakes
Click here for recipe!

 To make egg whites, it’s best to have a cold mixing bowl and room temperature whites!

Overbaked. 😦

Coconut Cake Balls

Check out my guest post over at beautiful Alaina’s blog: Sweetness of Life.

I wrote about a pretty sweet recipe I accidentally created.

It includes coconut butter, cake mix, and chocolate.

Interested yet?

No?

How ’bout now?

Go check it out! 🙂  And while you’re there, look at all of Alaina’s delicious recipes!!

P.S. If you haven’t had coconut butter before.. you have to try it.  It’s amazing!!

You can buy it here.  Or make your own by processing shredded unsweetened coconut in a food processor until creamy.

White Chocolate Frosting Blondies (Frosting in the batter!)

I used to do this thing where I ate when I was sad or upset.  A lot.  I didn’t know why I did it, but I did.  Baking became a hassle for a while because I knew that every time I did it, I would eat way too much of what I was making, but for the love of you all, I did it anyway.

After trying and trying to just flat out stop stress eating, I sat down and tried to figure out why I did it instead.  I came to the conclusion that either:

a) I did it one time when I was upset and it made me feel better, so after that I just turned to food every time I was stressed out.

or

b)  When I’m eating and eating and eating, I don’t think about anything, I just taste the sweet (because it was mostly sweets) in my mouth and all I know is that it’s making me feel good.

Once I found the root of my problem, I was able to fix it.  Considering that there are many other things to relieve stress, I made a list of alternatives and haven’t done it binged since then.

Here’s my list:

1.  Start a craft of some sort.  Lay everything out and just start it.  Once you get into it, the project will most likely consume you.
2.  Call one of your friends you haven’t talked to for a while.  Talking to a friend will immediately release stress and hopefully by the time you get off the phone, the feelings will have passed.
3.  Drink a glass of water and go for a walk.  The water will fill your stomach and the walk will clear your head.
4.  Watch TV or read a good book.
5.  Write!  Anything… make a list of things you’re grateful for, or things you love about yourself.  Or just write whatever comes out.
6.  Set a budget and go shopping.  It doesn’t have to be big… makeup, jewelry, clothes, whatever. Just go… but don’t let it turn into retail therapy. 😉
7.  Do yoga.  I’ve found that yoga is really good at clearing your head.
8.  Make a hair or nail appointment.
9.  Make a list of how you’re feeling and then another list of how to fix that without doing something you’ll feel bad about later.
10. Paint your nails.
11.  Clean the house. Wash the dishes by hand.
12.  Go for a drive and listen to your music.
13.  Color.
14.  Donate clothes to someplace or someone.
15.  Just get dressed up.  I find that when I put myself together I already start to feel better.
16.  Go the library.  I love going to the library!
17.  Take a long bath.
18.  Take some online quizzes or play some online games or just do stuff online.

You might feel unproductive doing some of these things, but just let yourself enjoy them and remember that any of these things are better than stress eating (or anything else you do because of stress).

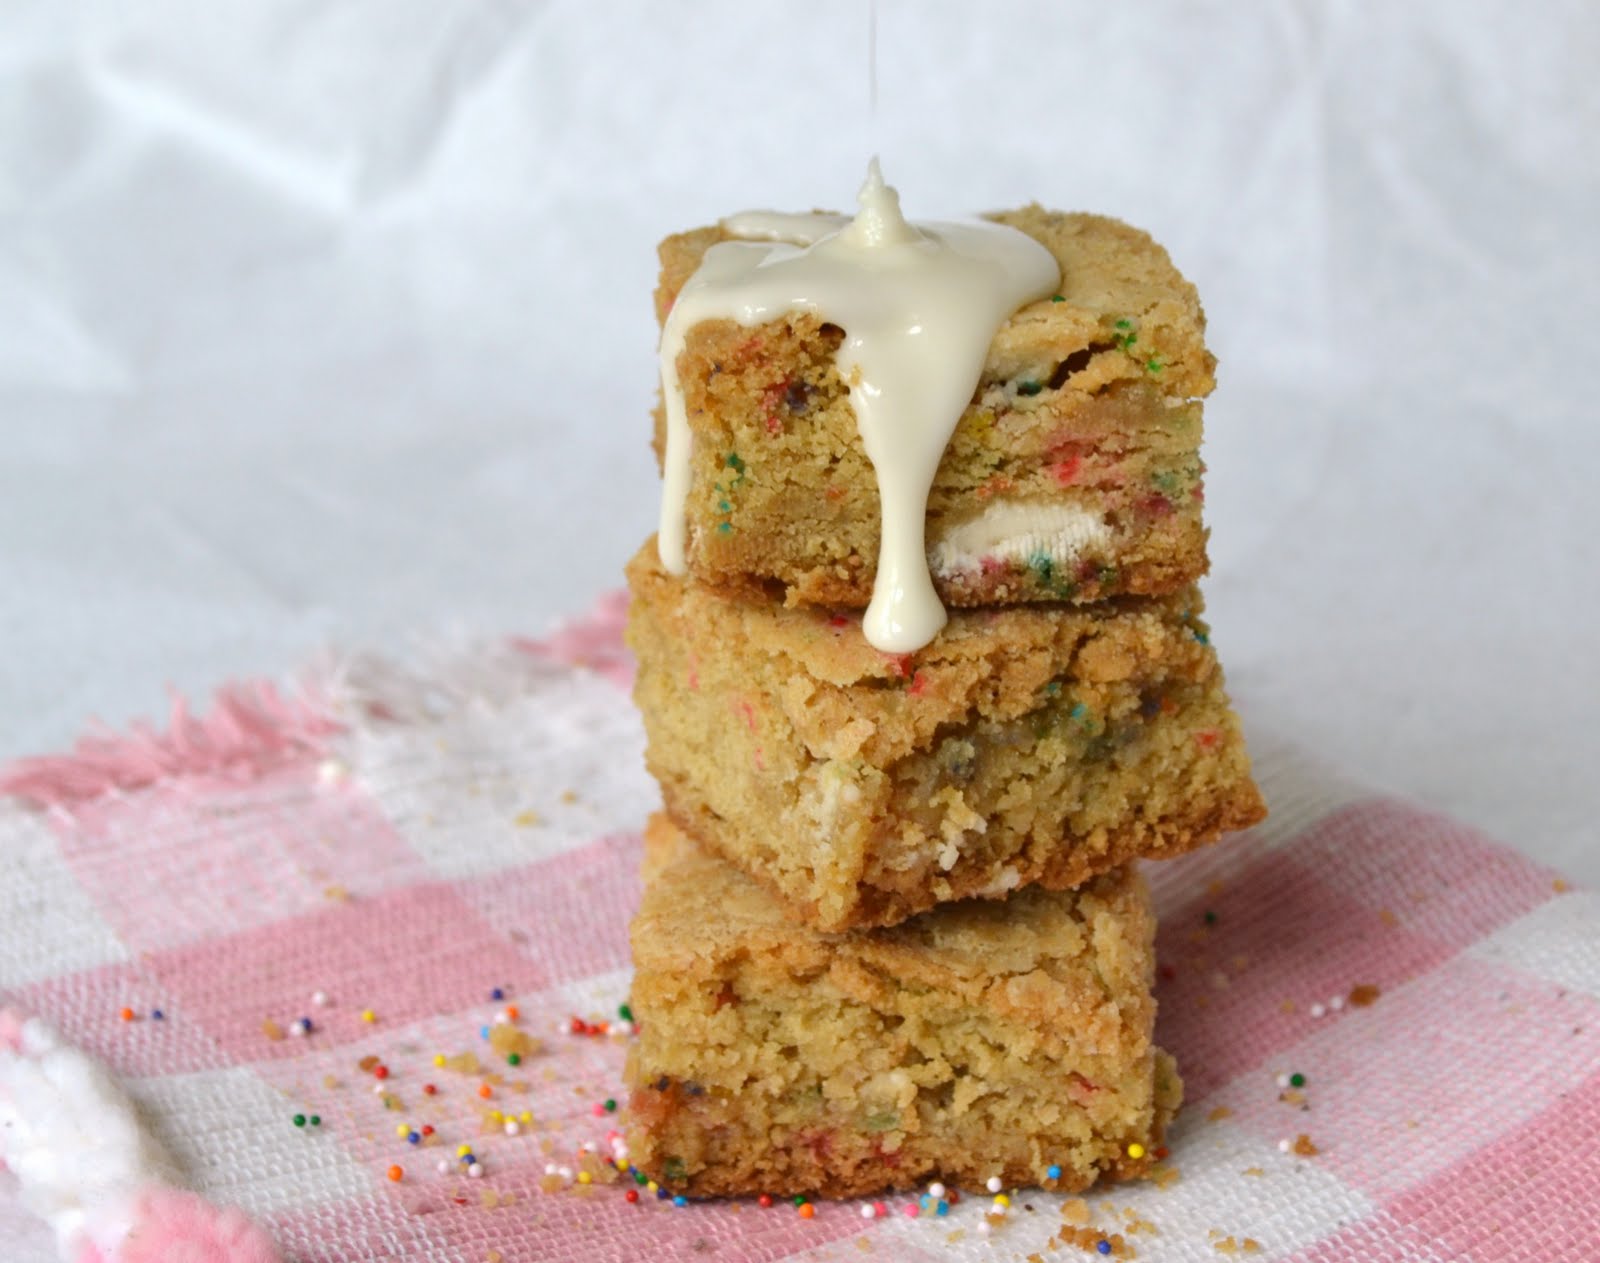
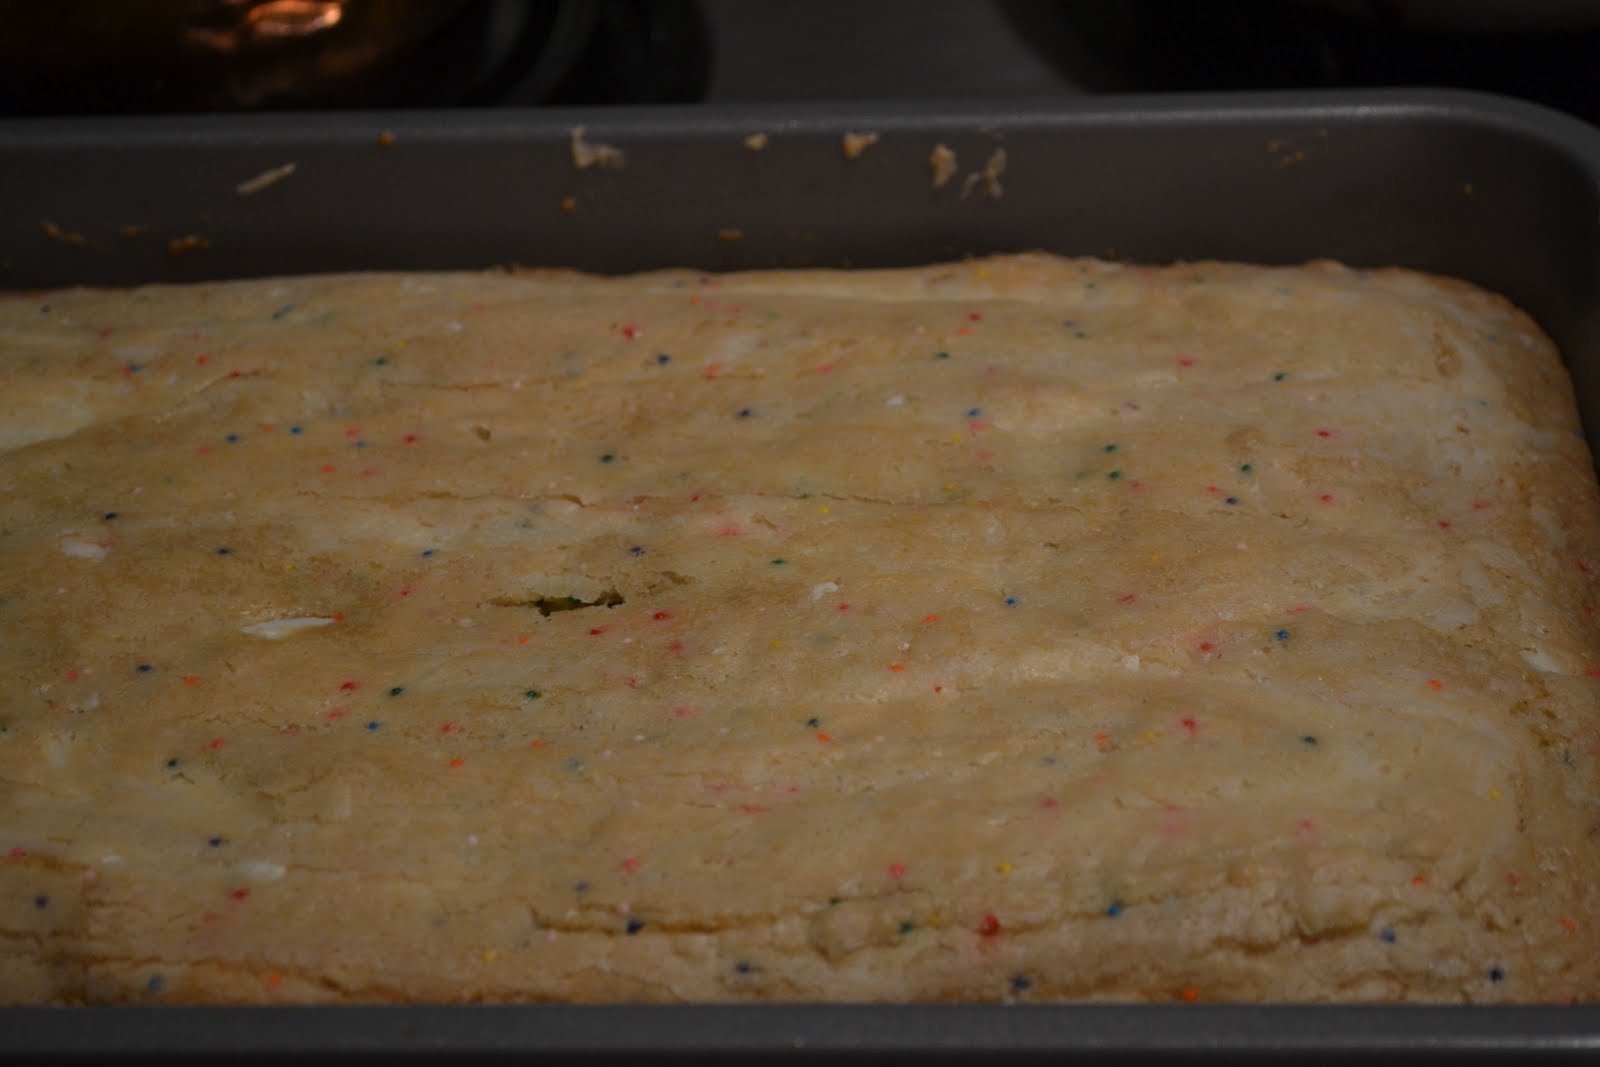
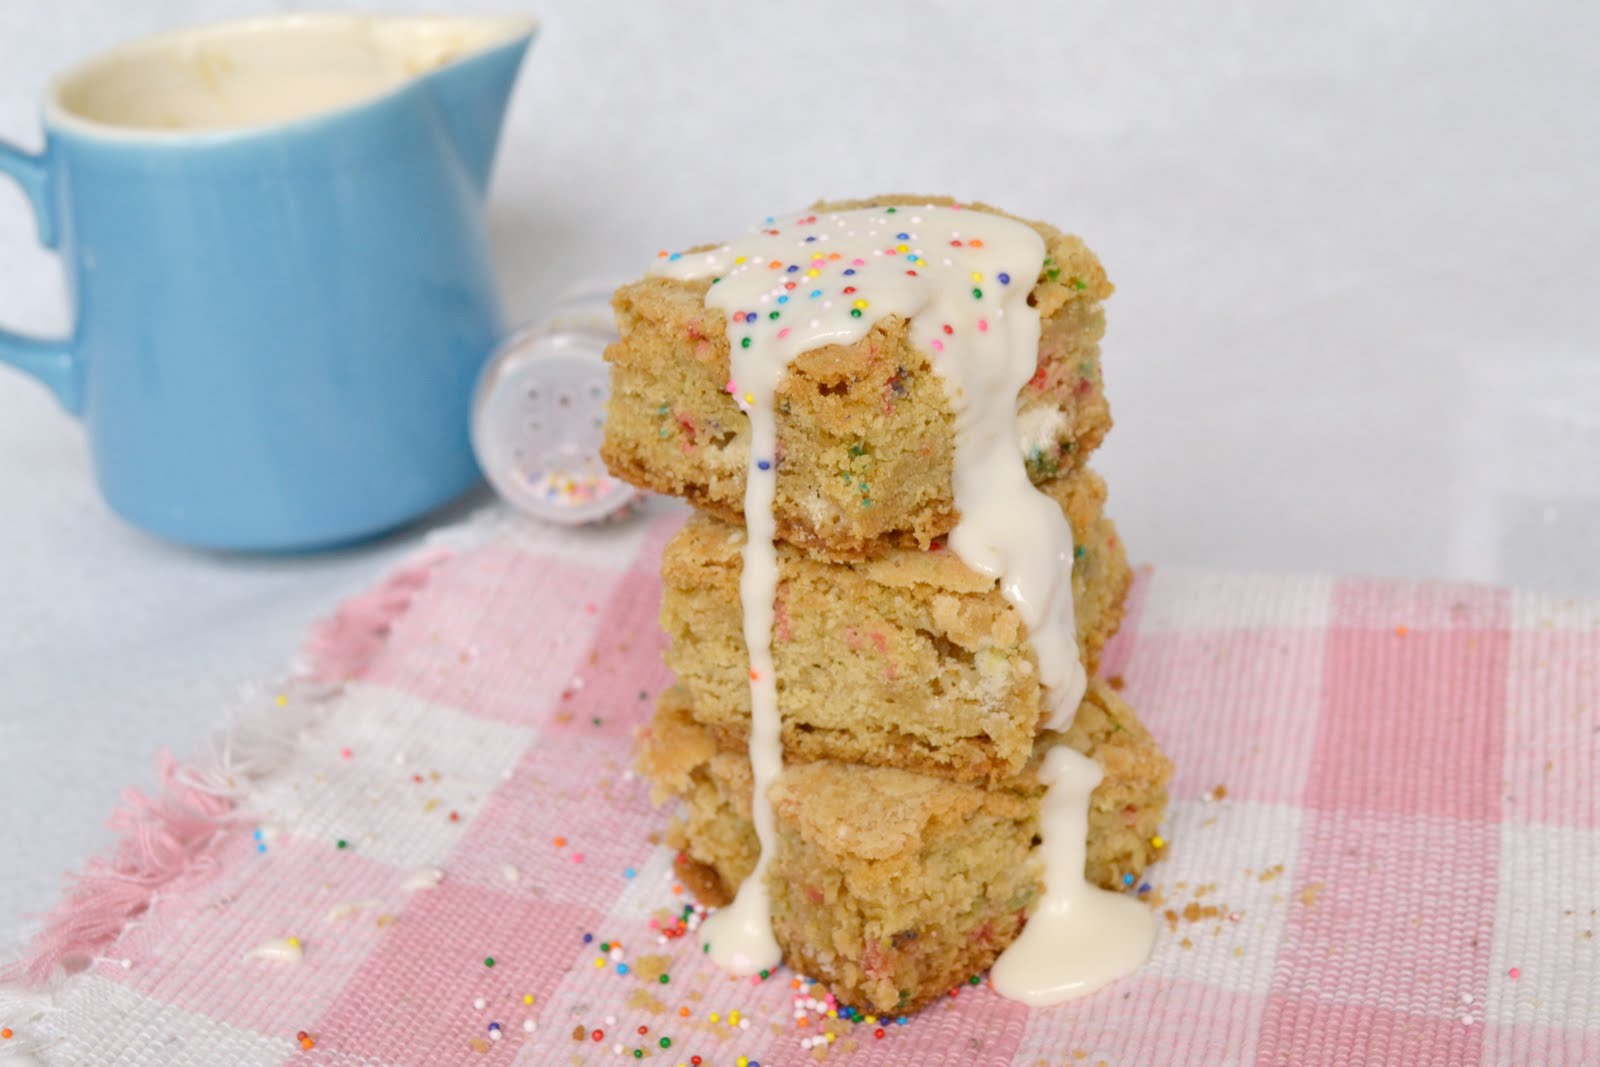
And, since some of you are probably here for a recipe, I’ve got one for you!  Remember those White Chocolate Frosting Cookies I made with the frosting in the dough?  Well, I’ve turned them into blondies! They’re suppperr good.  When they first came out of the oven last night, I was kind of worried because they weren’t very dense.  They tasted good, but more like cake.  But when I woke up this morning, they had become dense and blondie-like.  And they’re delicious, so make them! 🙂

White Chocolate Frosting Blondies
Serves 30ish (depending on how big you like your pieces 😉 )

Ingredients


  • 1 1/4 cups brown sugar
  • 2 large eggs
  • 4 teaspoons vanilla extract
  • 16 tablespoons (2 stick) unsalted butter, melted
  • 3/4 cups frosting, room temp.
  • 3 cups all-purpose flour
  • 1 teaspoon baking soda
  • 1/4 teaspoon salt
  • 1 cup white chocolate chips

Directions


Position a rack in the center of the oven and preheat the oven to 325 degrees F.
Lightly butter an 9×13 inch square baking pan.
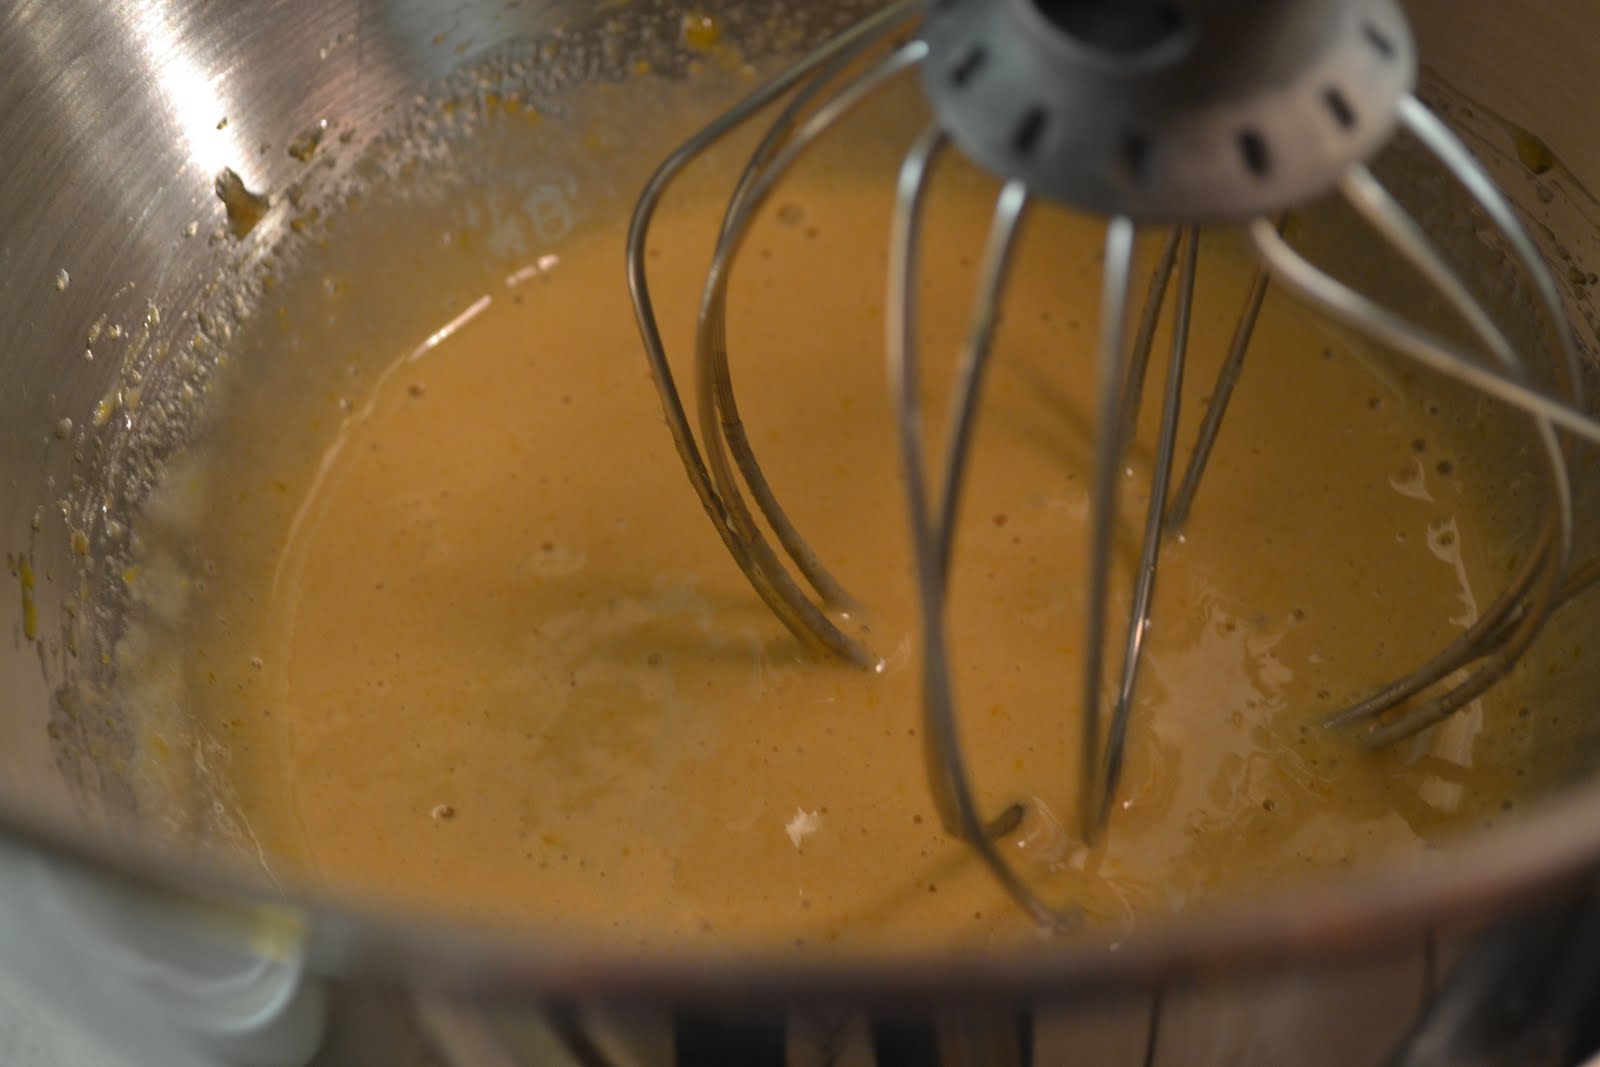
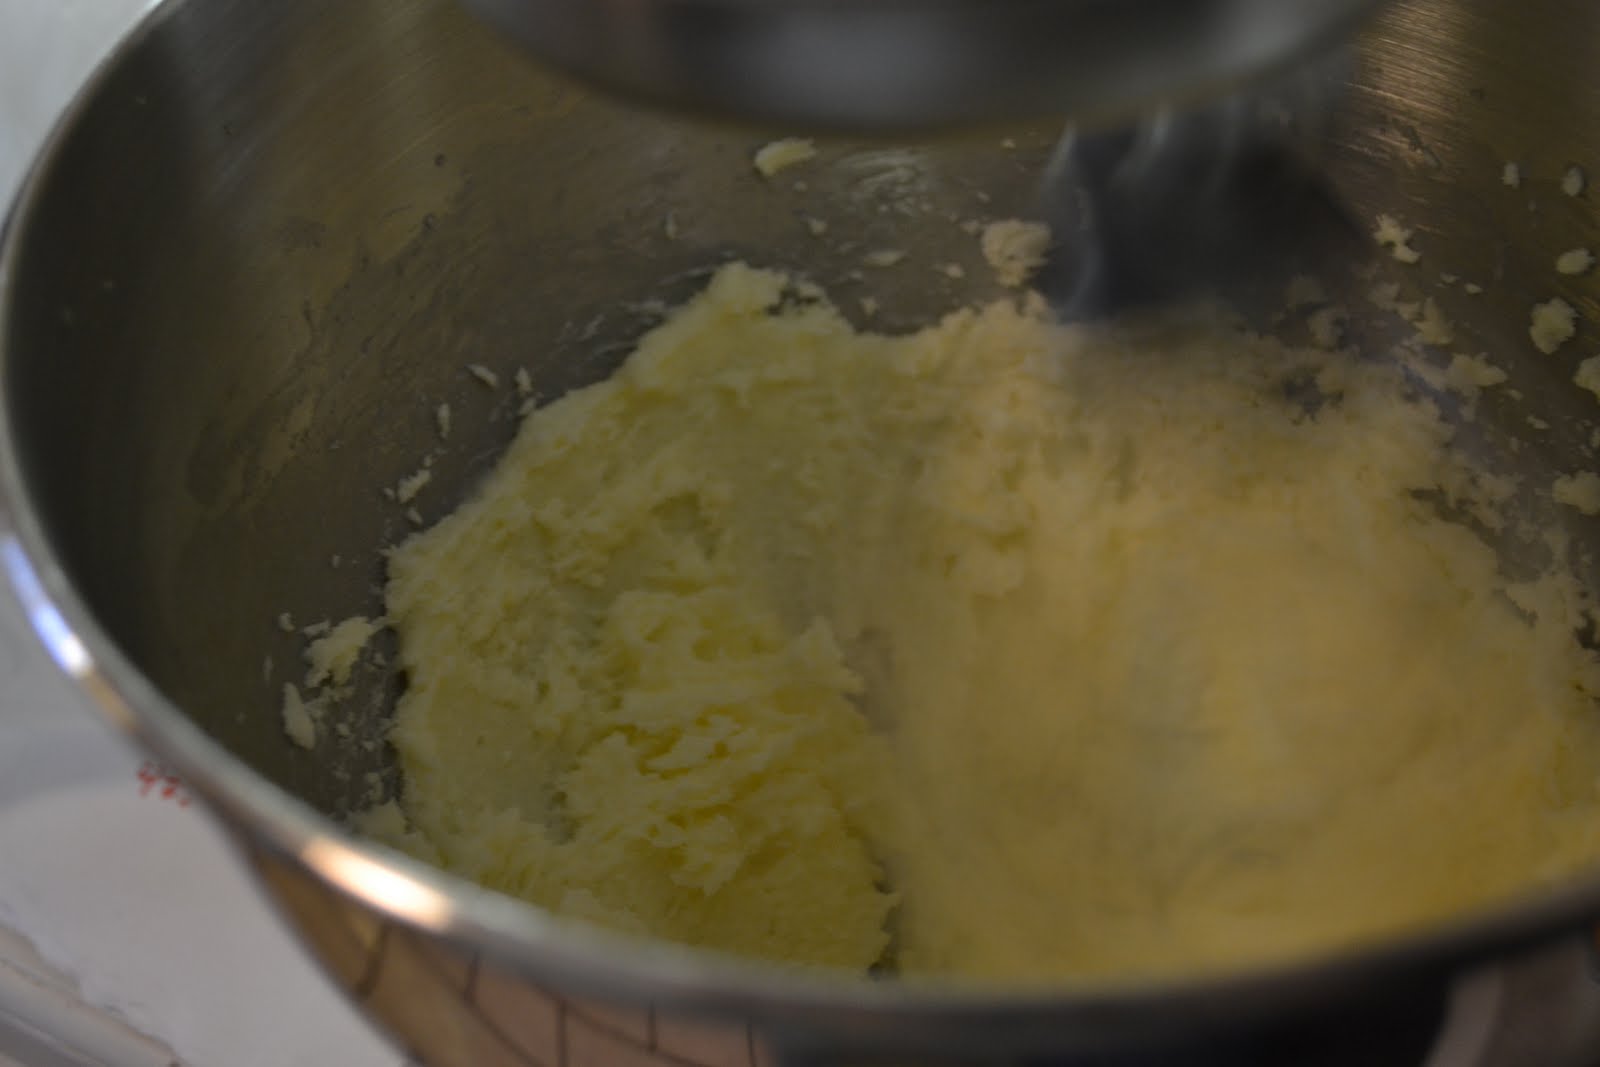
Using an electric mixer, beat together the brown sugar and eggs until light and fluffy, about 3 minutes.
Add the vanilla, butter, and 1/2 cup frosting and beat to mix well.
In a small bowl, stir together the flour, baking soda, and salt and add to the butter mixture, beating until just incorporated. Do not overmix.
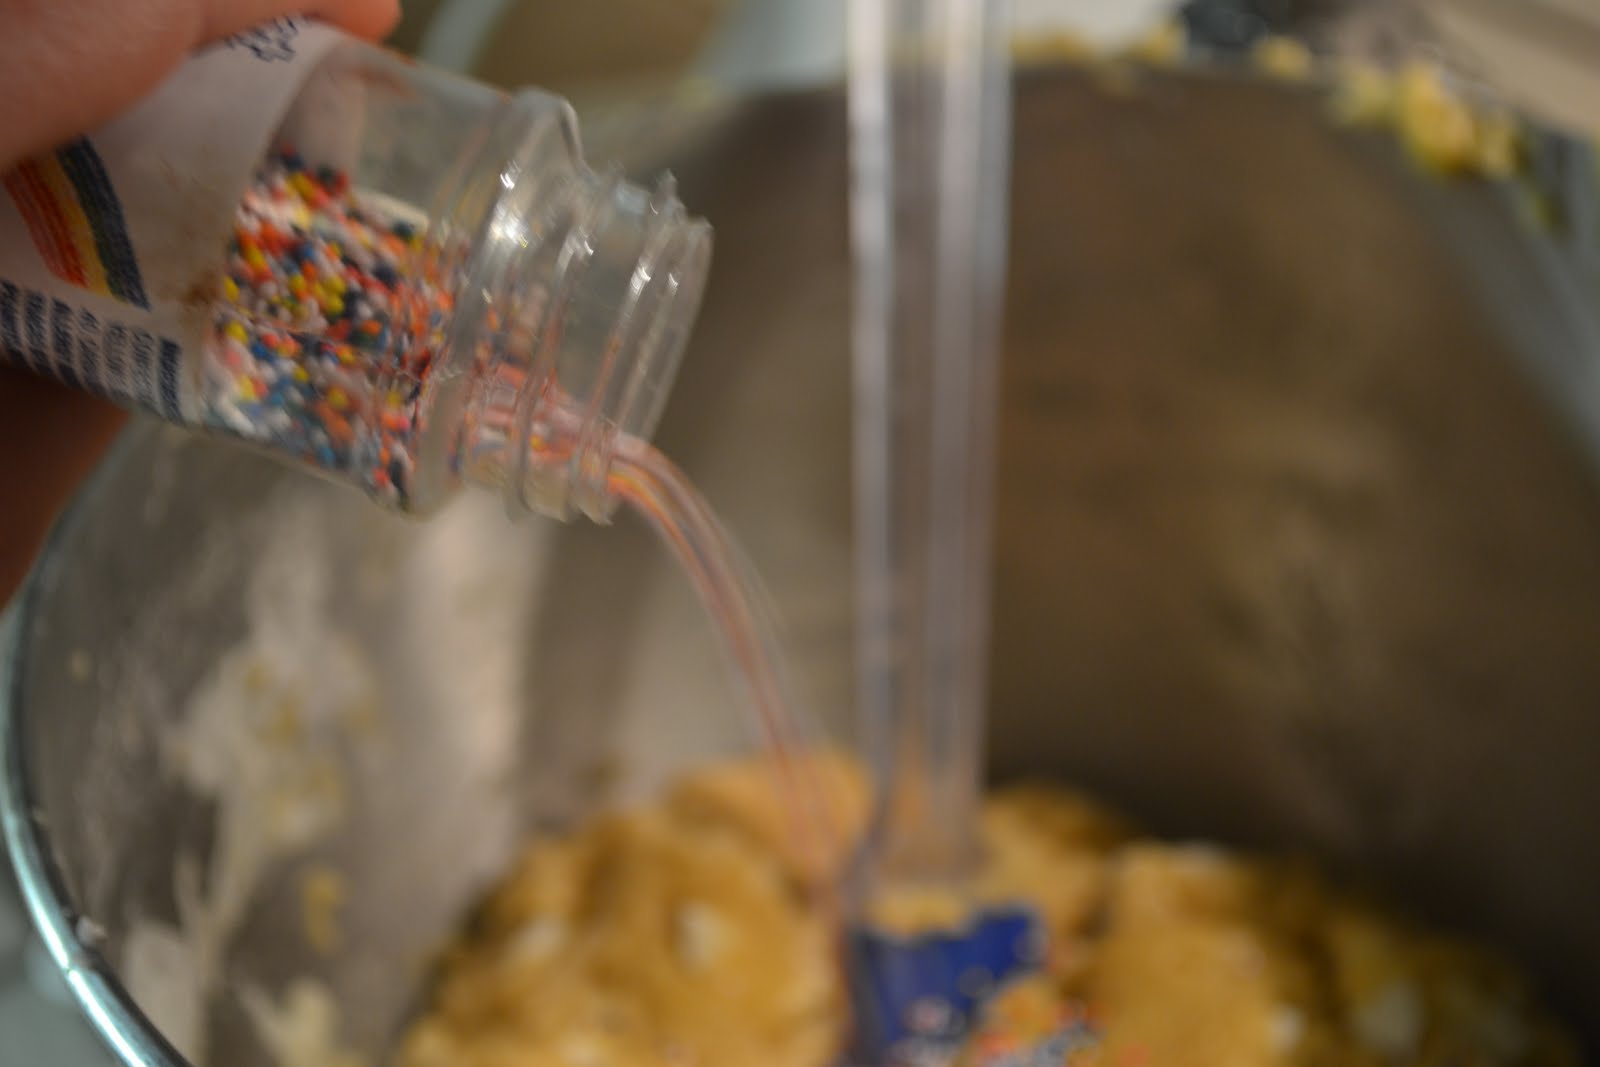
Using a spoon, stir in the white chocolate.
Spoon the batter into the prepared pan.
Drop the remaining 1/4 cup over batter and spread into top of batter with a spatula.
Bake the blondies for 40-45 minutes, until the top is dry and golden and a knife inserted in the center comes out with just a few crumbs attached (not wet, but not perfectly dry).
Remove the pan from the oven and place on a wire rack to cool. Cut the blondies.
The blondies can be stored, well wrapped, at room temperature for up to 3 days (they get better as they sit).

I like to make these even worse for you and drizzle white chocolate on top. 😉

Low Cal Blondies


This dreary and dark weather is really messing with my food photos.


Once I learned that natural light was the best way to photograph food, I quit using flash for good!  I even quit baking at night and started baking in the morning so by the time I got finished, I could use the natural light from my kitchen window to photograph the finished product.

But that’s changed lately.  It’s been cloudy for a couple of weeks now and I can’t seem to get a good picture.

Which is where a light box comes in handy!

No need to buy one.  I’ll show you how to make one!!

Homemade Light Box

You’ll need:
1 big box
some tissue paper or other semi-transparent paper
scissors

Cut out the centers of the sides of the box.  Leave one side, though!
It will look like this.
 Fill the sides of your cut out box with paper.
You’ll need more lights than this, but this is the gist.
Simple!!!!!
After all of that hard work, you’ll probably need some blondies. 😉

I took this from Katie.  They have beans in them, but I trusted Katie’s judgement and made them anyway.  I’m impressed!!  I wasn’t expecting them to be that good.  I took mine out a little early so they were gooey and delicious!  If you’re looking for a low-cal treat, these are the ones you should make.  My only complaint is that the flax seeds made them a little grainy, so next time I might sub in flour instead.  


Low Cal Blondies
For this delicious recipe, click here: Choc. Covered Katie

White Chocolate Frosting Cookies (Cookies made with frosting)

Do you have foods that if you keep them in the house, you can’t stop eating them?

I do.

Mine are peanut butter, white chocolate, ice cream, and frosting.  And if they’re in my house, they’ll most likely be gone in a week.

Which is why I made these cookies.  Jessica’s white chocolate frosting was obviously a hazard and I had to get rid of it quickly.  And not by eating it.

Which is why I made these.

…and after all that work of getting rid of the addictive frosting, I created an even more addicting cookie.

What foods do you find addictive if left in your house?

**

White Chocolate Frosting Cookies
adapted from: The Caramel Cookie

Ingredients:

1 1/2 cups flour
1/4 teaspoon salt
1/2 teaspoon baking soda
3/4 cup vanilla frosting (or white chocolate frosting)
1 egg
1/2 teaspoon vanilla
1/4 cup sugar
1/2 cup white chocolate, melted
*Optional: 1/2 cup sprinkles

Directions:

  1. Heat oven to 350. Grease a cookie sheet or line with a silpat.
  2. In a medium bowl, mix the flour, salt, and baking soda.
  3. In a seperate bowl, mix the frosting, egg, vanilla, and sugar on medium speed for 2 minutes.
  4. Add the wet mixture to the dry and stir until well combined. Once combined, slowly drizzle in melted chocolate while mixing.  
  5. Then, add your sprinkles and incorporate, but don’t over-mix. **Also, it’s optional to roll in powdered sugar like shown above, but I don’t recommend it.  I did it to a few and I didn’t like the final result.
  6. Drop cookies by large tablespoon fulls onto prepared cookie sheet. Bake for 10-12 minutes, or until edges of cookies are lightly browned.

Cake Mix Cookie Balls

The other day, my dearest friend Brandon tried some homemade cake mix cookies that I made and proceeded to tell me that he couldn’t decide if he liked those better or the cake balls I make… so I made a combination.  Plus, these are one of my best friend JORDAN’S favorite desserts and she’s home from college this weekend! 🙂

It kind of lead to a series of disasters in the kitchen. 

I was trying to make granola at the same time as these cookie balls and I was running around like a chicken with its head cut off.

First of all, my cake mix cookies definitely didn’t turn out as well as last time.  They turned out more like cake, so although the finished product was delicious, it kind of defeated the whole purpose of my little experiment.  I’m not even really sure what I did wrong because they turned out great last time!  I’m thinking I used too much milk…

Then, while trying to multitask, I spilled my granola alllll over the floor and counter!

I also didn’t realize how many cake balls I was getting myself into… yiiikes!  It took probably an hour and a half to coat all of them.  Wooo!! Quite the day, but, like I said, these turned out really well and they’re made completely from scratch!

They also turned into a delicious trifle that I’ll be posting soon… 🙂

What are your worst disaster stories in the kitchen?

Cake Mix Cookie Balls

*The recipe obviously needs a little tweaking since mine turned out cakey-er than I would’ve preferred, but this is my recipe I used. 

Ingredients

1 recipe Homemade White Cake Mix
2 eggs
1/4 cup milk
1/2 cup oil
1 batch White Chocolate Frosting
1-2 packages almond bark (I used one vanilla, one chocolate)  depending on how much you use
2 tablespoons oil, depending on how much almond bark used


Directions

1.  Heat oven to 350 degrees.
2.  Mix all ingredients until incorporated.
3.  Drop by tablespoonfulls onto a greased baking sheet.
4.  Bake for 6-8 minutes.
5.  Wait for cookies to cool, then break them all apart and put them in a large mixing bowl.
6.  Mix frosting with cookies.
7.  Roll into your choice of size balls (I used a small melon baller) and place in freezer for about 30 minutes.  This will help the dipping process.
8.  Melt one package chocolate with 1 tablespoon oil.
9.  Dip chilled balls in melted chocolate.

Comments {White Chocolate Frosted Almond Sugar Cookies}

First off…

I got my shot glass from my girl Alyssa!!! I love it… isn’t it so cute???

Next, I just want to say thank you for all of the comments I’ve been getting on my blog lately!!  Each and every one makes me feel SO good!! I can’t even express it, but thanks for all the love!  Rachel wrote a blog post the other day about comments and it got me thinking, so I’m stealing this topic from you Rachel! 🙂

Commenting is a very important aspect of blogging.  I love leaving comments on other people’s blogs because I know I like to know what people think of what I write.  (A.K.A. I love knowing your thoughts, guys!  If you love it, tell me.  If you hate it, tell me!) I wish I was able to reply back to comments right on my blog, but Blogger doesn’t let you do that.  I know WordPress does, though.  So I went on a search and found this!   I’m still trying to get it to work… and not succeeding.  If anyone can help me, that would be great.


–Edit— I just signed up with Disqus (dis-cuss) for commenting and I can now reply to everyone individually and keep track of all of my comments on all of your blogs. Yay!! 🙂  Check it out if you find yourself having the same commenting problems as me.


Anyway, I made these cookies to take with me to meet Guy Klinzing and he liked them.  I brought them all and they were all gone by the end of the day.  They’re easy and the almond extract makes the cookie, in my opinion.  They a little crispy, but they still have a little bit of chewiness to them and adding almond extract to the frosting made it taste awesome!

White Chocolate Frosted Almond Sugar Cookies
Taste of Home

Ingredients

  • 1 cup butter, softened
  • 3/4 cup sugar
  • 1 teaspoon almond extract
  • 2 cups all-purpose flour
  • 1/2 teaspoon baking powder
  • 1/4 teaspoon salt
  • Additional sugar

White Chocolate Frosting 
 
Click here for frosting.  I just switched the vanilla out with almond extract!

Directions

  • In a large bowl, cream butter and sugar until light and fluffy. Beat in almond extract. Combine the flour, baking powder and salt; gradually add to creamed mixture and mix well. Roll into 1-in. balls.
  • Place 2 in. apart on ungreased baking sheets. Coat bottom of a glass with cooking spray; dip in sugar. Flatten cookies with prepared glass, dipping glass in sugar again as needed.
  • Bake at 400° for 7-9 minutes or until edges are lightly browned. Cool for 1 minute before removing to wire racks.
  • In a small bowl, whisk together the confectioners’ sugar, almond extract and enough water to achieve glaze consistency. Tint with food coloring if desired; drizzle over cookies. Sprinkle with almonds. Yield: about 4-1/2 dozen.

Mardi Gras King Cake (lemon/cream cheese filling)

 
The first time I had a King Cake, it was Christmas and I was a little girl.

Christmas is already exciting as it is, especially as a little girl, but that particular year we were having a new dessert, which was even more exciting.  I had never even heard of King Cake before, but it had colored sprinkles, so I was all for it.  I’m not even really sure why we were having it since a King Cake is a Mardi Gras related dessert.  My dad picked it…

When my uncle passed around the cake to everyone, my dad told us that one piece had a plastic baby in it (apparently, the baby is meant to signify Baby Jesus) and whoever got the baby would have good luck for the rest of the year. 

I was super stoked when I bit into Baby Jesus; so excited, that I saved the baby…. and I still have it.  Since I don’t have any plastic babies conveniently laying around the house, I used the same one in one of the cakes I made today.  I used a pecan in the other cake.

After I had that cake at Christmas, I was obsessed with it.  I kept thinking about it and my dad even got me one for my birthday a couple of years ago.  So, I’m pretty happy that Mardi Gras has given me a reason to make this cake this year! 

The recipe I found was basically a cinnamon roll recipe, but I remember the cakes I had having a little bit of a creamy, lemony taste to them, so I adapted the recipe and it turned out well. It takes a little bit of time because the dough has to rise twice, but it’s worth it.  I don’t know if it’s because it reminds me of my childhood, or what, but it’s delicious.  However, next time I think I’ll try and find a flakier pastry recipe.  The one I used had more of a cinnamon roll texture. 

Happy Mardi Gras!  Are there any foods that remind you of childhood?


P.S. Don’t forget to comment on my Giveaway!

 I used whole wheat pastry flour, which is why mine looks a little darker.

 Best part!

 Hello, Baby!


King Cake (lemon/cream cheese filling)
adapted from All Recipes

**Makes TWO 

Pastry:

  • 1 cup milk
  • 1/4 cup butter
  • 2 (.25 ounce) packages active dry yeast
  • 2/3 cup warm water (110 degrees F/45 degrees C)
  • 1/2 cup white sugar
  • 2 eggs
  • 1 1/2 teaspoons salt
  • 1/2 teaspoon freshly grated cinnamon
  • 5 1/2 cups all-purpose flour

Filling:

  • 1 8 oz. package of cream cheese, at room temp.
  • 1/2 tsp lemon
  • 1/4 cup sugar, or sweetener to taste
  • 1/4 cup brown sugar
  • Optional: 1/2 cup chopped nuts (I left out)
  • Optional: 1/2 cup raisins (I left out)

Icing:

  • 1 cup confectioners’ sugar
  • 1 tablespoon water

Directions

  1. Scald milk, remove from heat and stir in 1/4 cup of butter. Allow mixture to cool to room temperature. In a large bowl, dissolve yeast in the warm water with 1 tablespoon of the white sugar. Let stand until creamy, about 10 minutes.
  2. When yeast mixture is bubbling, add the cooled milk mixture. Whisk in the eggs. Stir in the remaining white sugar, salt and nutmeg. Beat the flour into the milk/egg mixture 1 cup at a time. When the dough has pulled together, turn it out onto a lightly floured surface and knead until smooth and elastic, about 8 to 10 minutes.
  3. Lightly oil a large bowl, place the dough in the bowl and turn to coat with oil. Cover with a damp cloth or plastic wrap and let rise in a warm place until doubled in volume, about 2 hours. When risen, punch down and divide dough in half.
  4. Preheat oven to 375 degrees F (190 degrees C). Grease 2 cookie sheets or line with parchment paper.
  5. To Make Filling: Beat the cream cheese until smooth and creamy, add in the lemon and sugar and mix until incorporated.  
  6. Roll dough halves out into large rectangles (approximately 10×16 inches or so). 
  7. Spread the filling evenly over the dough and sprinkle brown sugar, nuts, and raisins on top. 
  8. Roll up each half tightly like a jelly roll, beginning at the long side. Bring the ends of each roll together to form 2 oval shaped rings. Place each ring on a prepared cookie sheet. With scissors make cuts 1/3 of the way through the rings at 1 inch intervals. Let rise in a warm spot until doubled in size, about 45 minutes.
  9. Bake in preheated oven for 20 minutes. Push the doll into the bottom of the cake (You can use a pecan, or something, too). 
  10. To make icing, mix water and powdered sugar.
  11. Frost while warm.  Add sprinkles! 🙂

 P.S. I got the pecan!!

 I take back what I said before; eating it is the best part.